Isn't this the sweetest thing? I know... & I made it myself!!!

Hi everyone. How is your weekend going? We had one beautiful day. In the morning we went to the Farmers Market in Calgary. Me and my dear hubby had one of those super yummy coffee's, while our energy overloaded :) kids were playing in the play area. After that much needed break, we bought some fresh vegetables and headed over to the swimming-wave pool. The kids loved it. We all had a blast sliding down the huge and super fast water slides, diving from the diving board, playing pirates in the waves and warming up in the hot pool. I love those days when everything is going just great and everyone is getting along. I hope you had one of those days yourself today!

The other day I started one of my new 'hobbies' (I know.. I know.. I just needed one more, right :) My mother in law gave me one of these homemade glass pendants about 2 years ago. We had gone to a craft sale around Christmas and there was a sweet lady who sold these glass tile pendants. I absolutely loved the one we picked and I wore it many, many times. It is still one of my favorite pieces of my wardrobe.
Then 2 years later (
dah) I found out that they are not hard to create at all. So I ordered all the pieces online (and they were such a good price!!!)

Al you need is some delicious
Stampin Up paper :) Some
Stampin Up! Crystal Effects (glue) which is transparent when it dries. And for that reason perfect for this job! + Some glass tiles, some
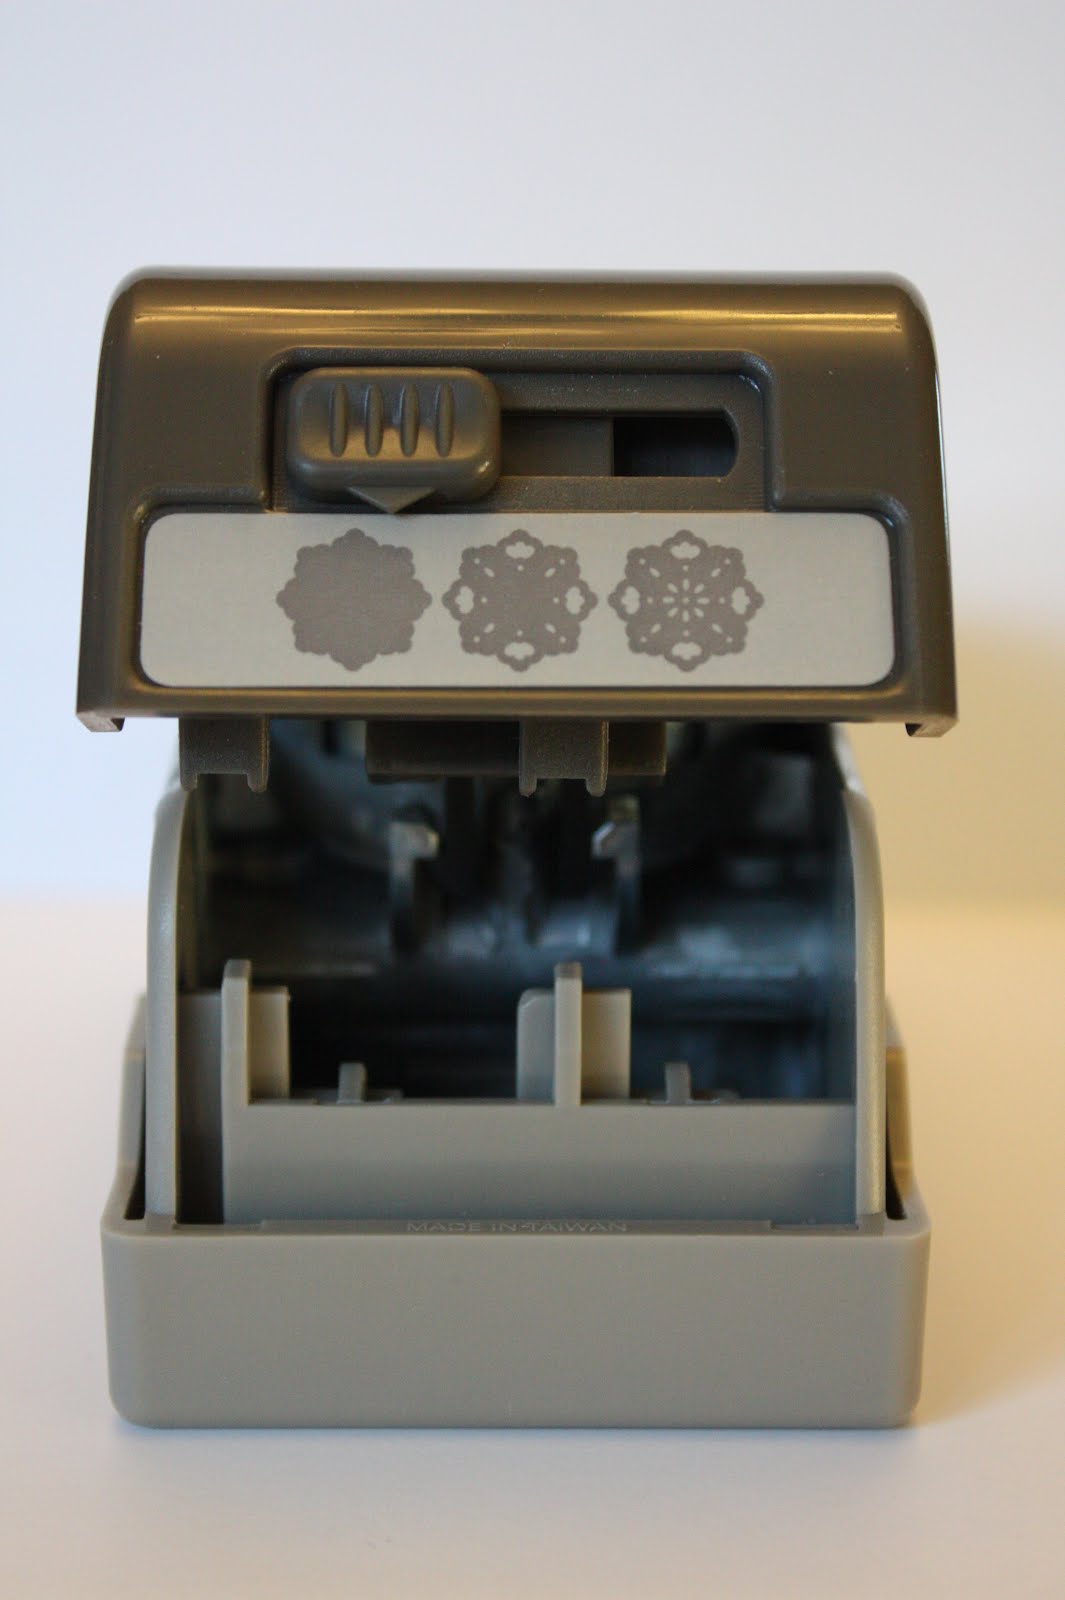
SU punches or some sharp scissors.

I created about 10 different glass pendants yesterday. The photo's that you'll see are just a glimpse of some of them. So, don't get confused when you see all these different designs.

Adhere a little bit of
Stampin Up's Crystal Effects adhesive (#101055 - $7.95 for 2 oz) onto the glass tile. Don't add to much, it will just overflow and make it look all icky.

That's about right. Maybe a little bit more Crystal effects glue.

Then press the tile with the Crystal Effects onto your piece of
DSP and move the glass tile around just a little bit so you can spread out the glue everywhere over the paper.

Press it firmly down.

After it dried for about half an hour, you will be ready for your next step. Cover the other side of the paper with.. yes! again... some of the Crystal Effects glue from
Stampin Up. Just pretend you are colouring with glue. Don't stop until all of the back of your pendant is completely covered.

Like this. Don't touch it while it is drying. (Unless you want your fingerprint on the lacquered look on the back of your pendant.. could be a cute idea actually:) Just put it in a safe place where it can dry for about and hour and a half. You know when it is dry enough when it just feels like rubber.. plastic.. or something like that.

Last but not least. Adhere the bail to the back with some strong STRONG glue.

And let it dry again.
And voila! Oh I am just so tickled pink about these necklaces. Even my 3 kids created one. They drew a picture, we stuck it under a piece of glass and now they are walking around with their own homemade necklaces. They are so proud of it. I LOVE it!
 All that to say! There is some BIG STAMPIN' UP! NEWS: Stampin
' Up! announced last month that starting this year, they have eliminated the Summer Mini Catalog. The future Holiday and Spring Minis will be bigger and last longer (5 months vs. 4, much easier on my brain). The annual catalog (new In Colors, stamps, designer series paper--woo
hoo) will start a month earlier (June 1, 2012) and the Holiday Mini will start a month earlier as well (August 1, 2012--better timing for Halloween and fall projects). I'm really excited about this simplified schedule!
In addition, the Simply Adorned and
Décor Elements lines will be discontinued when the 2011-2012 Idea Book & Catalog retires.
IMPORTANT NOTE: THE CURRENT IDEA BOOK AND CATALOG WILL EXPIRE ON MAY 31, 2012 NOT JUNE 30, 2012. Details regarding the retiring stamp and accessories timing will be released at a future date.
NEW SIMPLY SCORED PRODUCT COMING SOON! Stampin' Up! has designed the ultimate accessory to the Simply Scored Scoring Tool for making envelopes, boxes and more--the Simply Scored Diagonal Plate. As a demonstrator, I'll be able to order it later this month and start playing (and sharing, of course). It will be available for customer purchase March 1, 2012!
Well, have a great rest of your weekend.
Inky hugs, Pauline


 Ain't Love is grand! What else is grand? This stamp set! :) Earn Stampin' Rewards to use on this exclusive set with a qualifying purchase. Also available in both English and French, and wood- and clear-mount (Aint Love Grand Hostess stamp set 2011/2012 #122505 - $17 for this woodmounted stamp set of 6)


 We're so excited, our littlest one is so close to being potty trained. She loves the happiness that happens after she pees on the potty. We all dance and cheer for her, give her kisses and spoil her with a little candy. I love it. I just had to show you. Aint Love Grand.. yes indeed!
 Here I used the Top Note die from Stampin Up in my Big Shot. After I rolled the orange card stock through the Big Shot machine for the first time, I turned it about 90 degrees and rolled it again through my Big Shot. Then I ended up with this masterpiece. I am sure you have seen it before, but this is the first time I have tried it out. So simple, but so fun!
 Hi dear everyone.